How to Install an Urban Rack

Ready to get your haul on? Loading up your bike and freeing up your back is one of the most liberating additions you can make to your rides. In today's post, we'll set up and install one of our Urban Front Racks, perfect for bringing home the bacon, beer, or whatever else you want to tote on your travels. Let's dive in!
What You'll Need
- Urban Front Rack
- Included Hardware
- Hex Wrench Set
- Your Bike
- Brake bolt (or hardware store/bike shop equivalent)
- Braze-on bolts x2

You'll also want to make sure your bike is drilled for a front brake.

And that it has eyelets on the fork for mounting the rack.

Installation
Begin by laying out your materials and making a note of what's what.
Pay extra attention to the fact that the "arms" have a long side and a short side, so you can be sure to get them on the right way - the long arm will face forwards with the drainage holes towards the inside (wheel-side).


We’ll begin by attaching the brake-bolt mount, so grab your allen wrench and loosen the brake bolt on the back of the fork until you can slide the bolt all the way out.

Make your life easier by turning the wheel to bring the bolt out into the open so you don't keep bashing your fingers and tools into the downtube.

Now slide the bolt-mount on there with at least one of the washers behind it.

And tighten it back up enough that it holds the mount in place gently, but still gives you enough wiggle-room to adjust it up and down. You'll need that space to get everything straight and level later.
Next grab the two smaller included 3mm bolts and washers. These will attach to the bottom of the rack through the mount to hold them together.


Thread the bolts through the mount and up into the base of the rack.

Tighten them up enough that they’re secure but, again, leave yourself enough wiggle-room that you can adjust the rack forward and back on the mount for now.

Next, grab the 2 “arm” pieces and remember that the "long arm" will point forward and the drainage holes will face towards the wheel. Use that to help you sort left from right.

You'll need two braze-on bolts for the eyelets, and the easiest thing to do is usually just to cannibalize two from an unused water-bottle mount. If you're using all of those though, just swing by your local bike shop and they'll have bins full of 'em too.

Pop those out with your allen wrench, and bring 'em up front so we can use them to mount the rack arms to the fork eyelets!

Thread the braze-on bolts through the rack arms, then the eyelet, and tighten them up. As before, just get them tight enough that they hold, leave yourself room for adjustment.

Do both sides now, so you'll have the left and right "arm" mounted to the eyelets.

Next, grab the four included bolt/nut/washer combos. You'll use those to attach the tops of the "arms" to the rack.

The arms will mount to the inside (wheelside) of the rack, so thread the bolts through the rack, then the arm, then give them a little tighten. Again, don't overdo it. You just want them to hold at this point but you still need to be able to adjust everything later, so keep it loose.


Then, jump around and do the same thing to the other side.


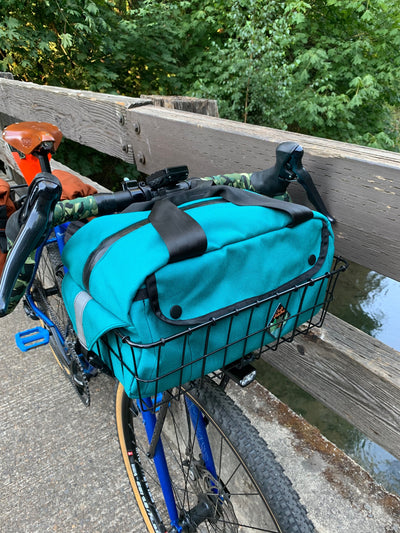
Awesome! At this point your rack should look like a rack. Take a step back and admire its completeness and your lack of leftover nuts and bolts. And if you do have leftovers, give these instructions a quick re-read to figure out where you missed one.

But wait! We're not done yet, you still have to tighten everything up once you've got the rack leveled and settled where you want it.
Make any adjustments you need to get everything squared away and then work your way back over each of the bolts to give them a final tighten.


And once everything's tightened down, just remember to make sure your brakes are still lined up on the rim and you're ready to roll!

Hit the road to give it a test run. Pop down to the corner-store and grab a six-pack to get a feel for how it rides when it's loaded up and, when you get home, enjoy a cold one while you remember what life used to be like when you had to wear your backpack everywhere.

Ahhhhh. Rack life rules.
Happy hauling! We'll see you out there.