How to Install an Urban Rear Rack

For those looking to add some serious capacity to their daily commuter or grocery getter our specially designed urban rear rack will become a fast friend. It's footprint is specifically designed for multiple beverage pack arrangements or a solid payload of soft goods. Since this rack will surely see it's fair share of service from its owner, we wanted to make sure we had a guide available to ensure your rack will be a breeze to install and get to hauling!
What You'll Need
- Urban Rear Rack
- Included Hardware
- Hex Wrench Set
- Your Bike
- Phillips head screwdriver
- 10mm open end wrench
- Braze-on bolts x2

Installation
Begin by laying out your materials and making a note of what's what.
Pay extra attention to the fact that the "arms" have a long side and a short side, so you can be sure to get them on the right way - the long arm will face forwards with the drainage holes towards the inside (wheel-side).


Let's start by locating the upper attachment points of the rack on the frame of your bike. Using your hex key remove these two bolts and set them to the side for later use.


Next you'll want to locate the dropout rack eyelets. These will be the upper of the two eyelets of the dropout. The lower eyelets are used for fenders. 
Here is the orientation of the rack before we get to bolting everything together. Make sure you have those longer supports toward the rear! 
Now let's attach the rack supports to the rack platform using your hex key and 10mm wrench. You will need to hold the assembly with the hex key while rotating the nut with the 10mm wrench. The nut should be on the outside like pictured below.

Now that all attachment points are tightened down. Your rack will look like this:

You can now remove the rubber bands holding the chain stay struts to the rack
 Now you can place the rack over the rear tire and using the included M6 bolts, attach the rack supports to the drop out eyelet on either side.
 Here is what that will look like when attached:

Now using your hex key again move the chain stay struts forward and attach them to the chain stay eyelets using those bolts we put to the side earlier.
 This is what that will look like from the rear:

The other side of the strut connected to the rack platform should still be loose and allow you for find your correct alignment and level.

Once you get your platform level you can go ahead and tighten down the nuts securing the struts in place with your 10mm wrench.


Now that we have the platform secured you can either leave as is to better haul things like an XL supreme pizza/oversize case of "sodas" or install the included side rails. Cargo nets and straps are your friend in platform mode.

Now attaching the guard is a breeze just use the 4 bolts to attach using your Phillips head screwdriver.

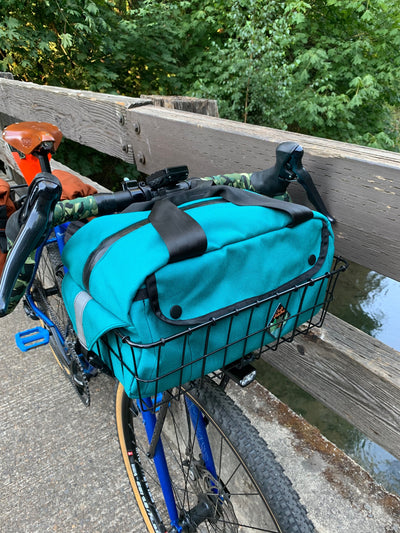
Boom! You're done, ready to take on whatever the #cargolyfe throws your way.