Leaky Tube? Patch it Up!
Is there anything worse than a flat tire when you're all geared up and ready to ride? Yes, bike thieves. They're the worst thing since unsliced bread and stand alone as a testament to the depths of depravity capable in mankind. But the second worst thing is definitely a flat tire.
So, you can imagine my disappointment last week when I was about to head to work and my rear tire felt... squishy.
Ugh. Still, it could be worse. My tire was just a bit on the mushy side, not flat, just low, so I did what any responsible rider would do; I pumped it back up to pressure and rode to work.
By the end of the day, my tire was once again soft, so I knew I had a slow leak. I won't bore you with the details (-15psi in 8 hours, whoops), but because it was slow and I'd already written a blog for the week, I just pumped some air back into it and rode home.
Well, it's a week later, I've got some blog time, and I'm tired of topping off before every ride, so let's patch this tube!
The first thing you need to do is grab a patch kit.


I used one of our Rema Patch Kits because they're awesome and with 5 patches for $2.50 it's only 50-cents to fix this leak as opposed to $8 for a new tube (I know there's only 4 in the photo, it comes with a nice long double-patch too, but I used that one already. See how handy these are!).
We'll start by getting the tire and tube out of that rim, so first, let out the air in the tube (push down on the opened presta valve) until it's nice and flat.

Next, grab your tire levers and work them around the rim until you've liberated your tire.

See how the left tire lever uses that hook to lock onto a spoke so you can park it there and use your second tire lever to work around the rim? I think that's pretty handy.
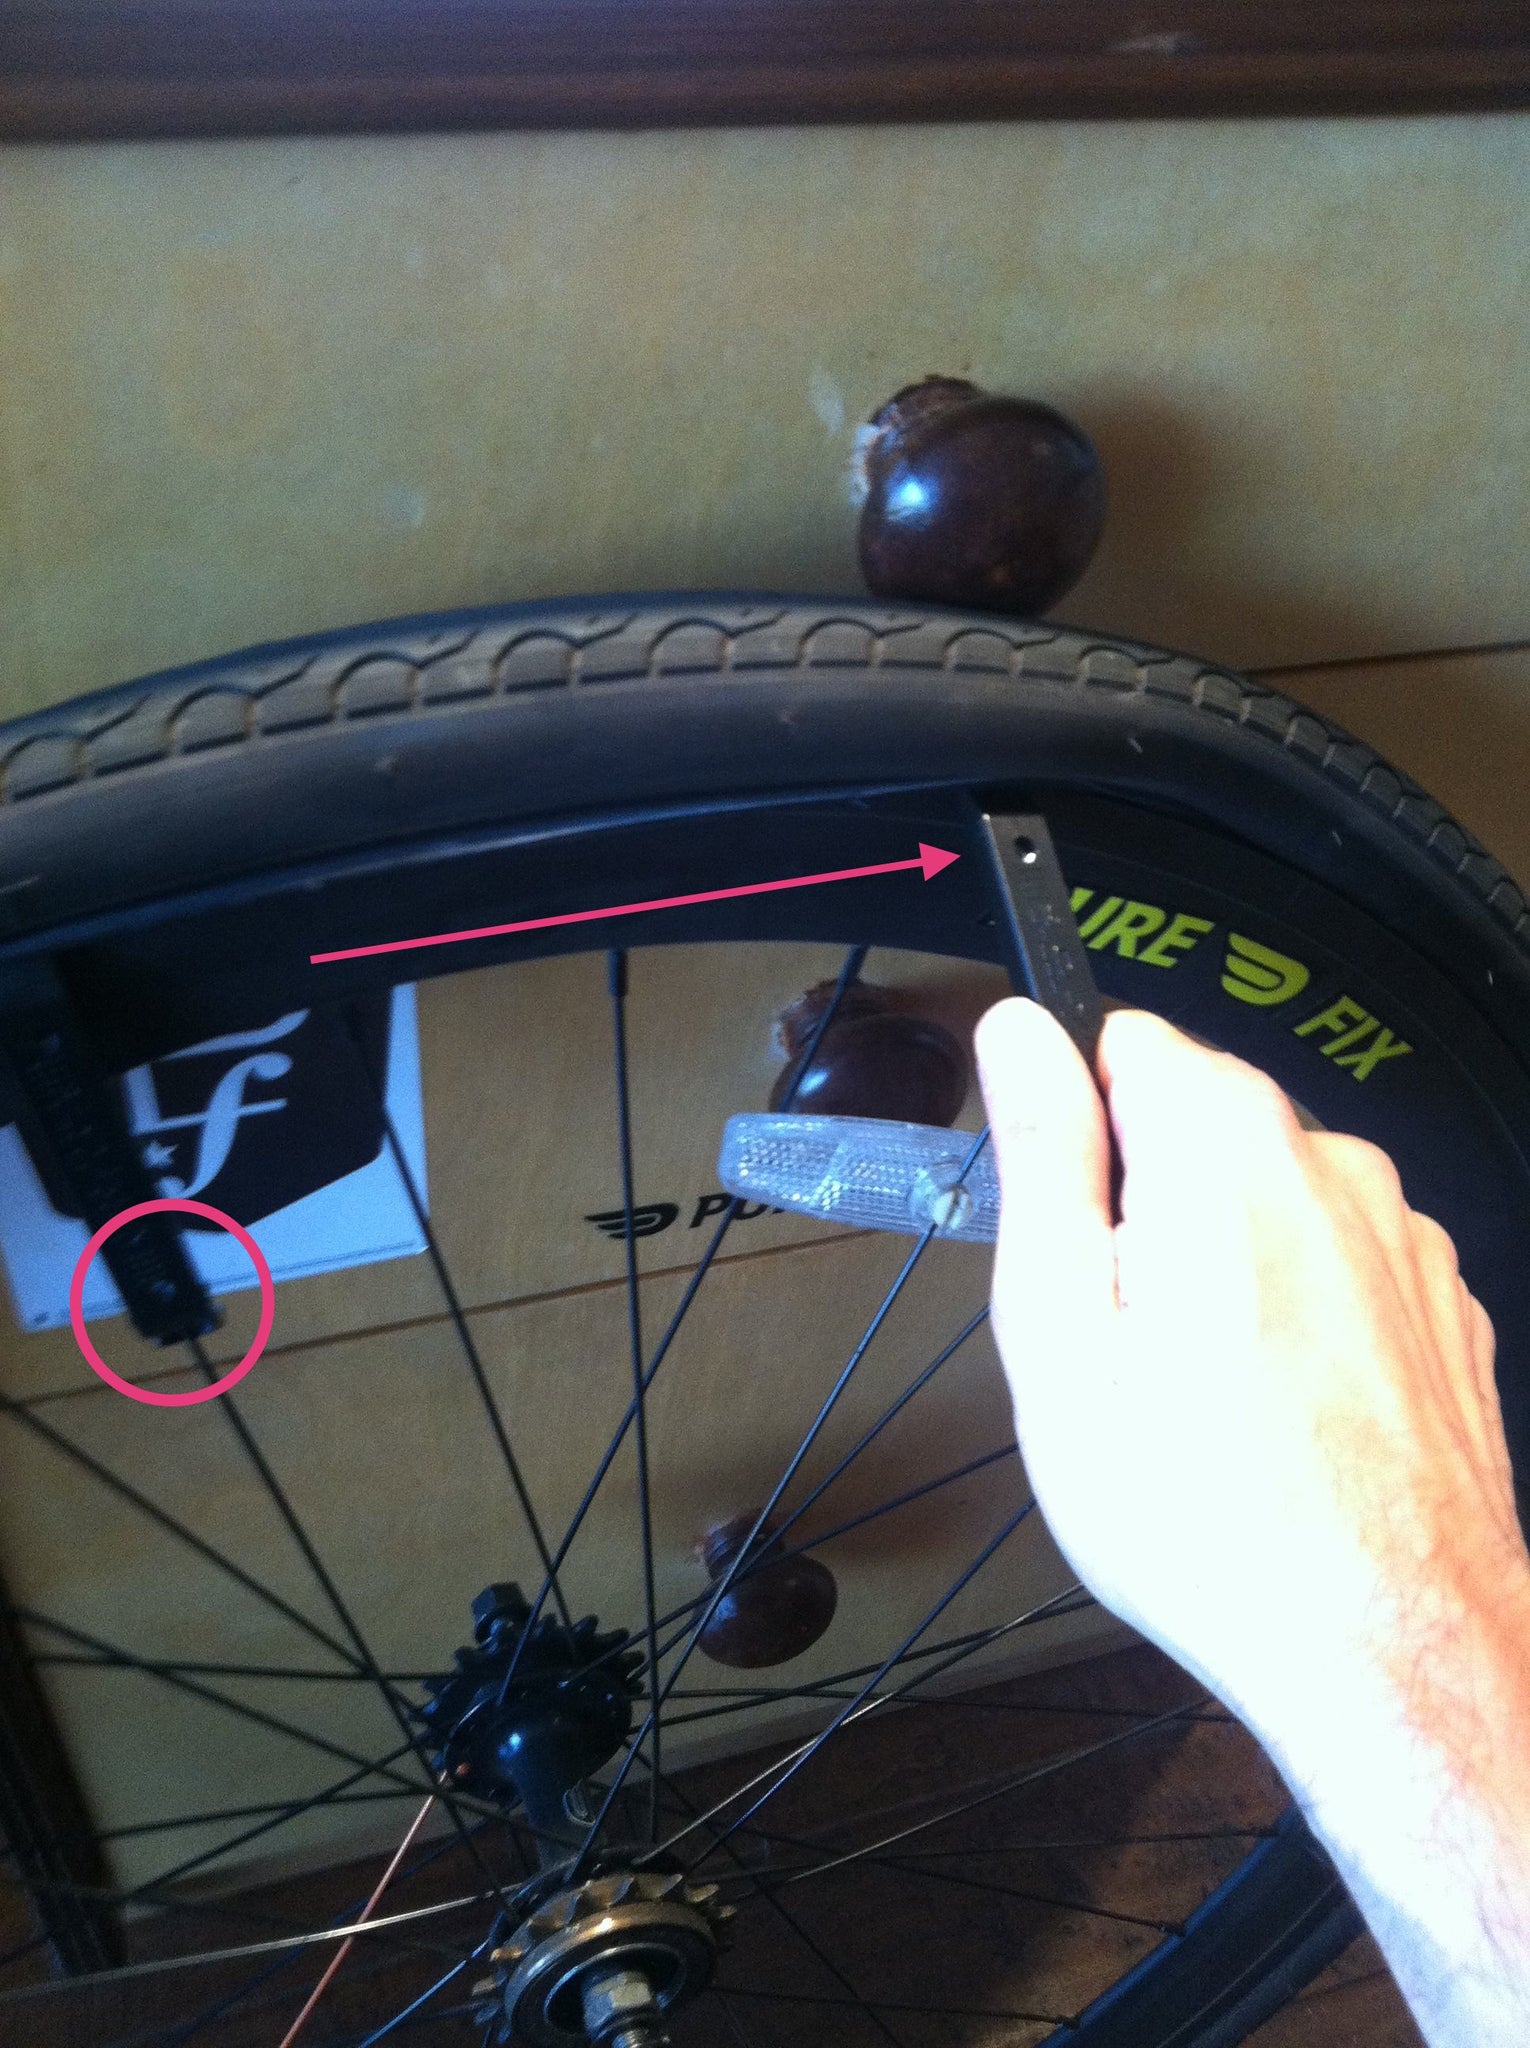
Once the tire and tube are out of the rim, it's time to find that leak! (When you pull the tube out of the tire, mark where the valve is on the tire with a piece of chalk or something, trust me, it'll come in handy). If there's no obvious hissing from the tube to indicate the leak, check the rim and tire for any culprits that could've caused it (this is a good chance to make sure you don't have any debris, junk, etc... in there that can cause flats down the road too). I usually start by looking all the way around the rim for debris and to make sure the rim strip is still seated correctly and covering all those spoke holes.
Then, run your hand around the inside of the tire to see if anything turns up.

(My brother uses a glove or a rag to do this so he doesn't slice his finger open on a piece of glass or something embedded in the tire, so use whatever you need to feel safe). One lap around the tire turned up...


a big ol' nail! (This is where that chalk mark on the tire comes in handy, because now you can realign the tube in there and find where the puncture is on it!).
If all your searching still doesn't turn up the leak, don't panic! Just fill a sink with water, pump some air into the tube, and then submerge parts of the tube until you see bubbles. Boom, there's your leak!
And now for the fun stuff! Clear off your work station (in this case my desk), pop open your patch kit, and lay the tube in front of you with the leak face up (I marked my tube's leak with chalk so I could find it again easily if I dropped it or got distracted or something).
Grab the sand-paper out of the patch kit and use it to rough up the surface around the leak.

No need to be timid, go ahead and scuff that sucker up so the rubber cement has some traction, and make sure to sand an area slightly larger than the patch you'll be using.

When you're done, it probably looks pretty unremarkable, but you're now ready to add the rubber cement!

Apply a nice slimy layer of rubber cement to the area (again, slightly larger than the patch).
Now you need to wait 5 minutes while the cement dries. Listen to a song, do a crossword puzzle, read about my awesome bike, whatever you want, just kill some time while that puppy dries.
Once it's dry, it's time to get patchy! Peel the silver backing off the patch and lay it flat over your leak. Use the patch kit box to press from the center of the patch out to the edges to remove any air bubbles that might be trapped underneath it.


Once it's nice and snugly on there, just peel off the clear film and you've got yourself a patch!


I'll usually pump a little bit of air into it to make sure it's holding, and if it looks good, it's time to pop it back on the bike!

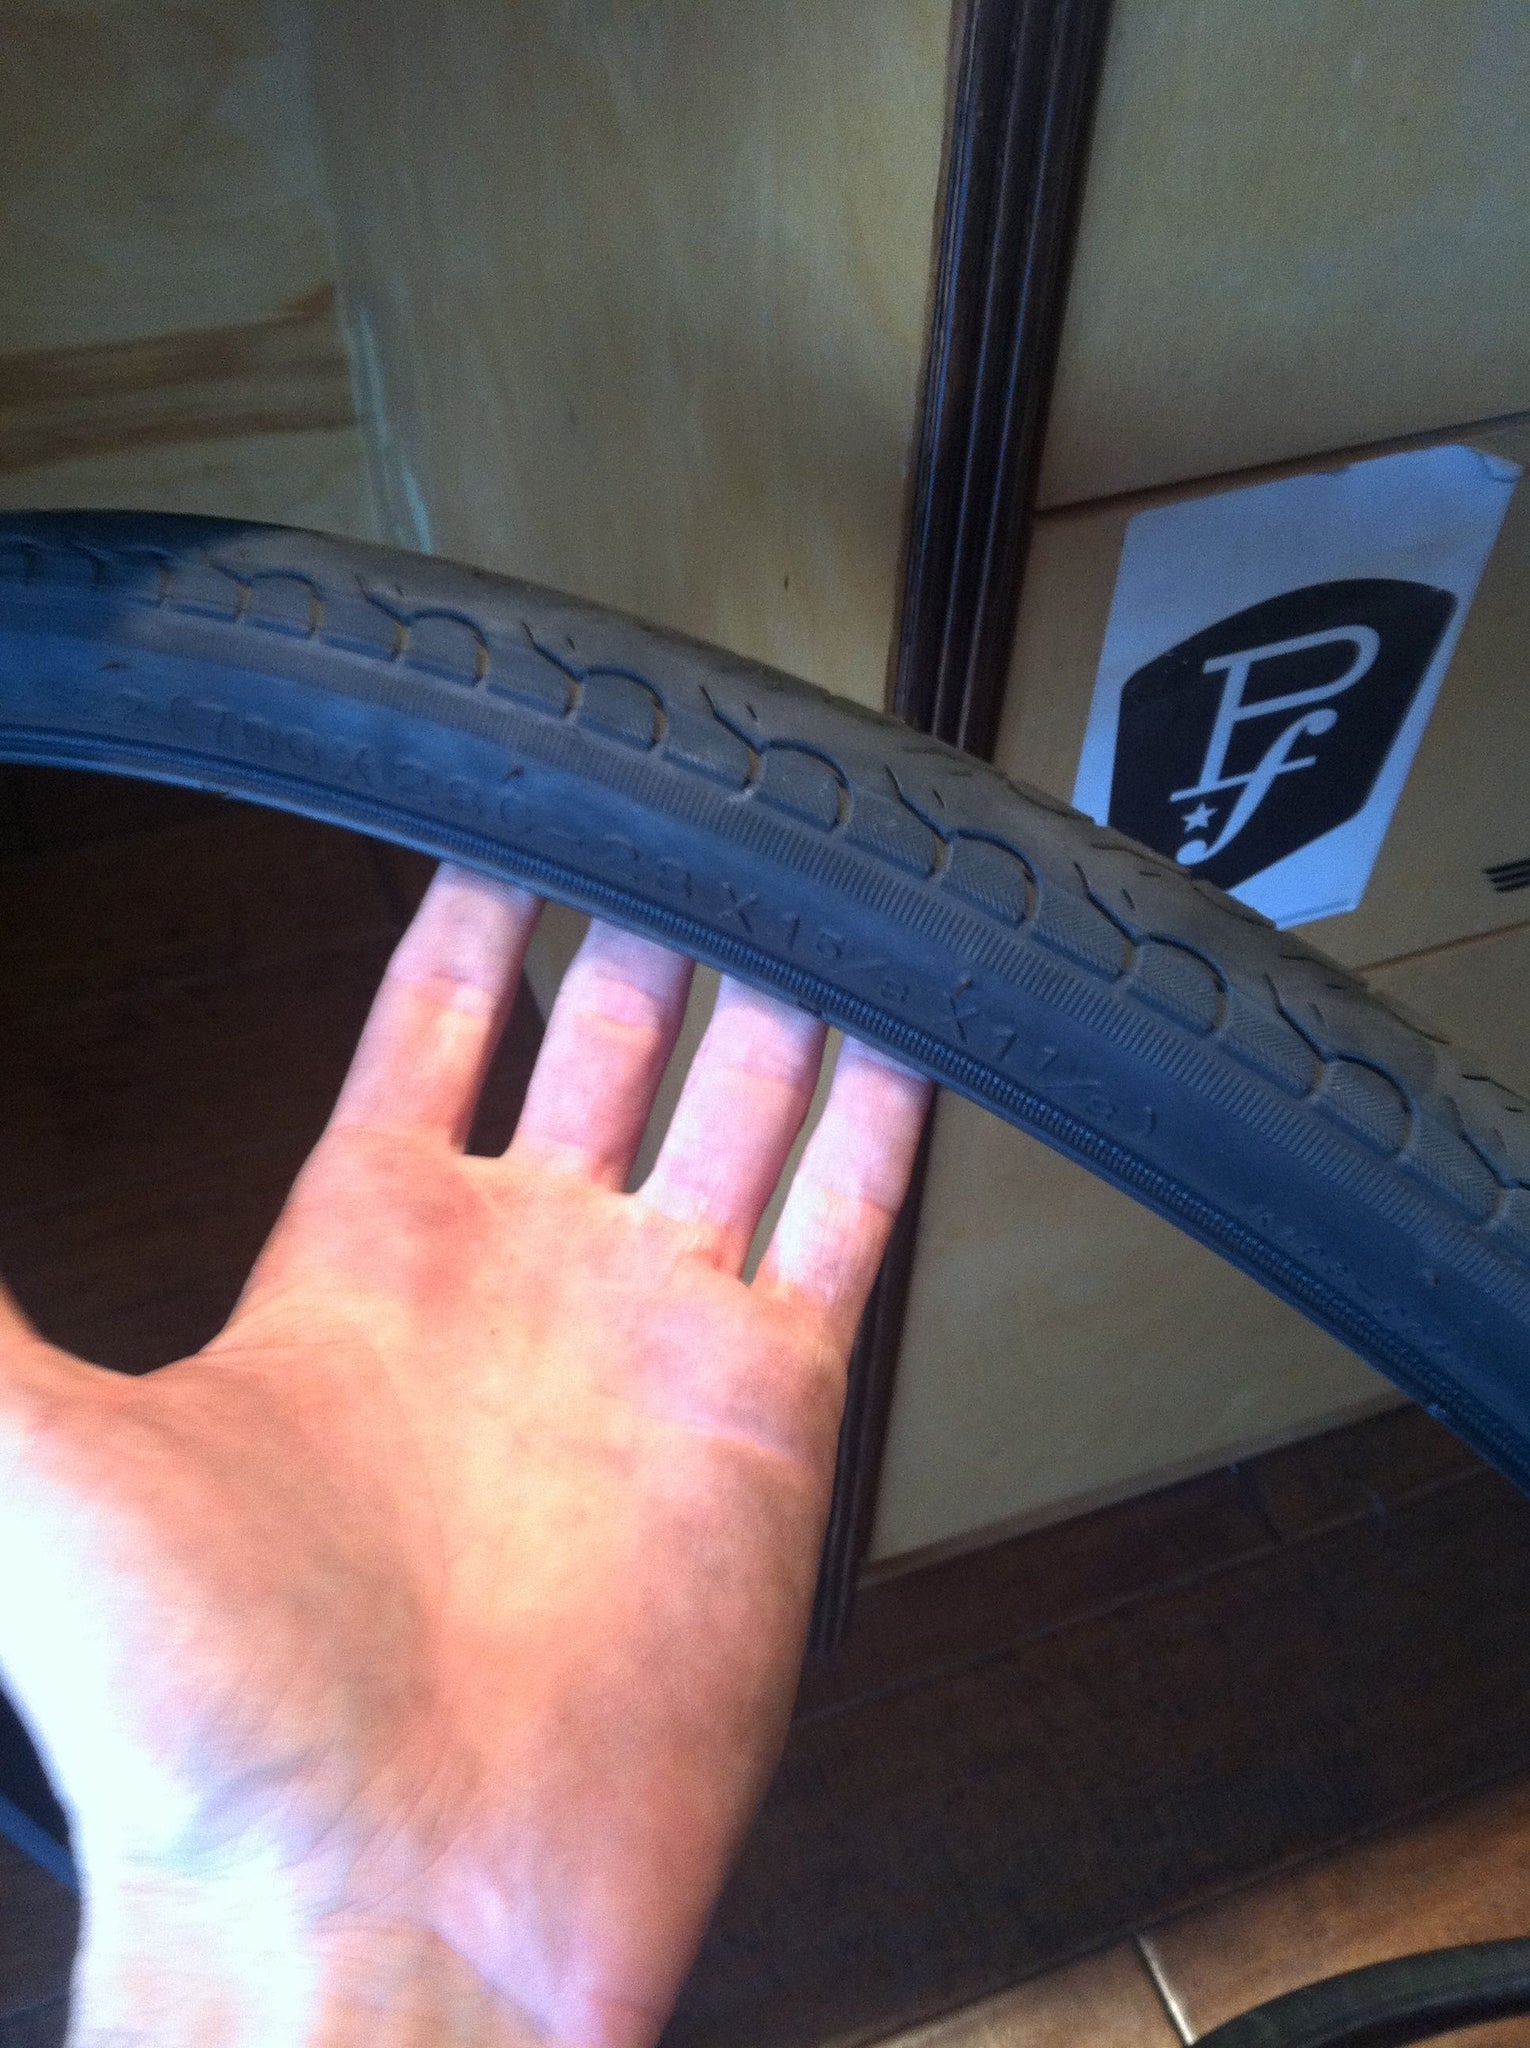
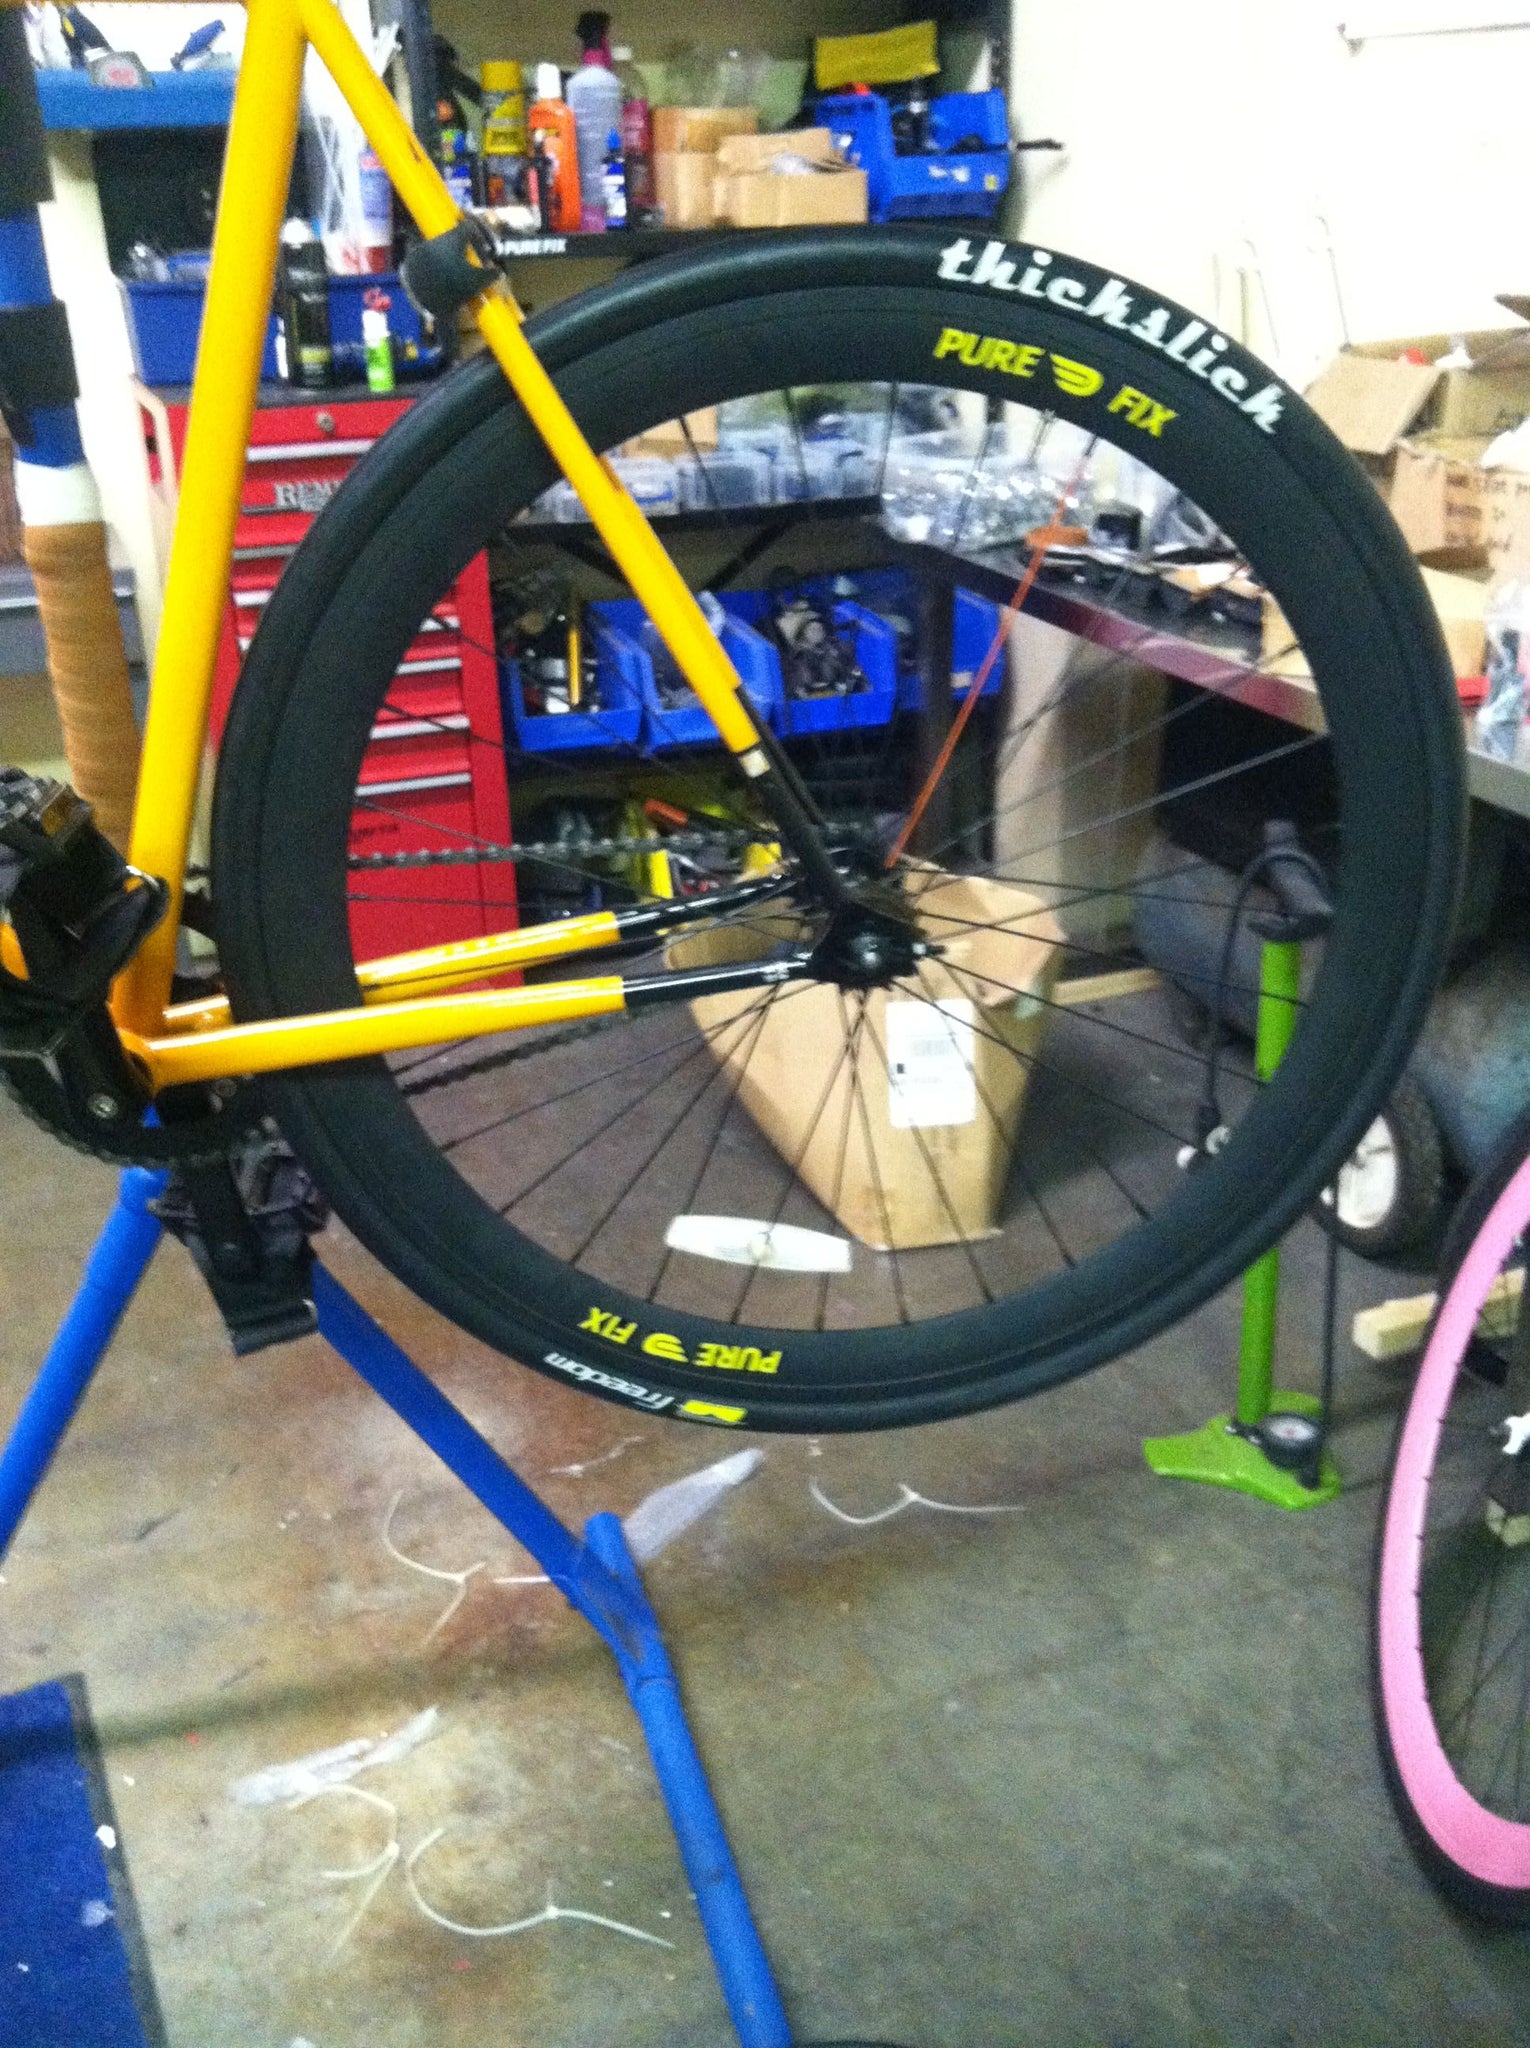
Since my original tire suffered that gnarly nail wound, I decided to upgrade my rear to a thickslick for the added flat protection and improved grip (and it looks pretty sweet too).

Just pop your newly patched tube into the tire of your choice.

Use those tire levers to get the tire reseated in the rim.
Pump it back full of air, and you're good to go!
That's it! You're done! You may want to grab a new tube at some point to swap in there but, when you do, you can save your patched one as a spare in case you get a flat out on a ride and just need something to get home. In any case, I won't have to top off my tires every time I head out anymore, so that's a win in my book. Thanks, patches!